
So after putting in 10 bones--one 1/2inch one at each seam, and one 1/4th inch one on each side of the grommets--I realized that my corset still retained a lot of the minor wrinkles you can see in my last post. So I went back and added more bones, this time all 1/4th inch ones. On each side I added two at the front, one at the middle, and one at the back. This eliminated the problem almost entirely, and it was good enough for me. So that's 18 bones altogether, not including the busk. I could have put another pair on the opposite side of the grommets, but, well... my hasty sewing errors didn't allow for enough room there.
Then, when sewing the binding on, I unknowingly moved the top knit layer a teensy bit. Now my wrinkle is back! But I'm hoping a few well placed hand stitches along the binding layer will fix it. I guess this is what I get for securing my knit fashion layer to the duck cloth at the side seams only, and not at the top and bottom, too.
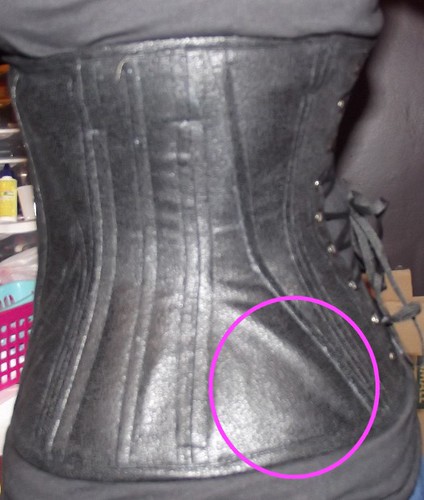
Otherwise, I'm pretty pleased:

I mean, the binding edges aren't perfect, but it was my first time. I think I may need to make a quickly boned modesty panel because, well, can you SEE that back fat by my laces in that blurry picture? Overall the corset is a little too small in the top back area, so I get a little "back fat" spillage over the top. Drafting error #1. I'm hoping that evens out with a different bra and a little more wearing in, though. As you can see in the above picture, the bra/shirt combination is also covering the top of my corset, and maybe pushing it down a tiny bit. I didn't notice this problem with another bra I was wearing during the mockup, and I didn't notice as much of a "back fat" problem, either, so I'm hoping switching back to a different undergarment will fix a bit of the problem.
I ended up taking 1 inch off the length over my hips; the pattern I made cupped them fine, but looked a little dramatic/costume-y. This was drafting error #2: I built the corset to be 9 inches high, but I drafted it as if the 9 inch line went straight from my underbust down to my full hip. When I edited in the curve I wanted, the line came out to be quite a bit longer than 9 inches, more like 10.5 or so. (If I were more awake I might have some more technical math and geometry oriented explanations for this, but I just can't find the right words.) I also loosely lengthened the front to accommodate the 9 inch busk I had. It makes a pretty nice point, I think.
Oh, yeah, and I got size 00 grommets--which work pretty well with my cheap-o grommet setter, and I'll have to post photos later--but I accidentally put in two of them backwards. I put in a third backwards on purpose after I realized the first one was backwards, to try and "even it out" on each side, but uhh..... yeah, I'm just thoughtless sometimes! I used the hole punch on this, too, since I could not get 4 layers of duck cloth and two layers of suede cloth to stretch evenly enough to properly put into a grommet. That's my fault, since I wasn't sure how many layers to keep in the back, and just went for "more is better".
But I don't even have pictures of the back of my corset at the moment, so that's the third minor finishing touch I still need to do. :)
No comments:
Post a Comment